 Avidemux

Setup
How to Install Avidemux on Windows, macOS and Linux
Get Avidemux running on any desktop system, pick the right build for your hardware and check the installation works.
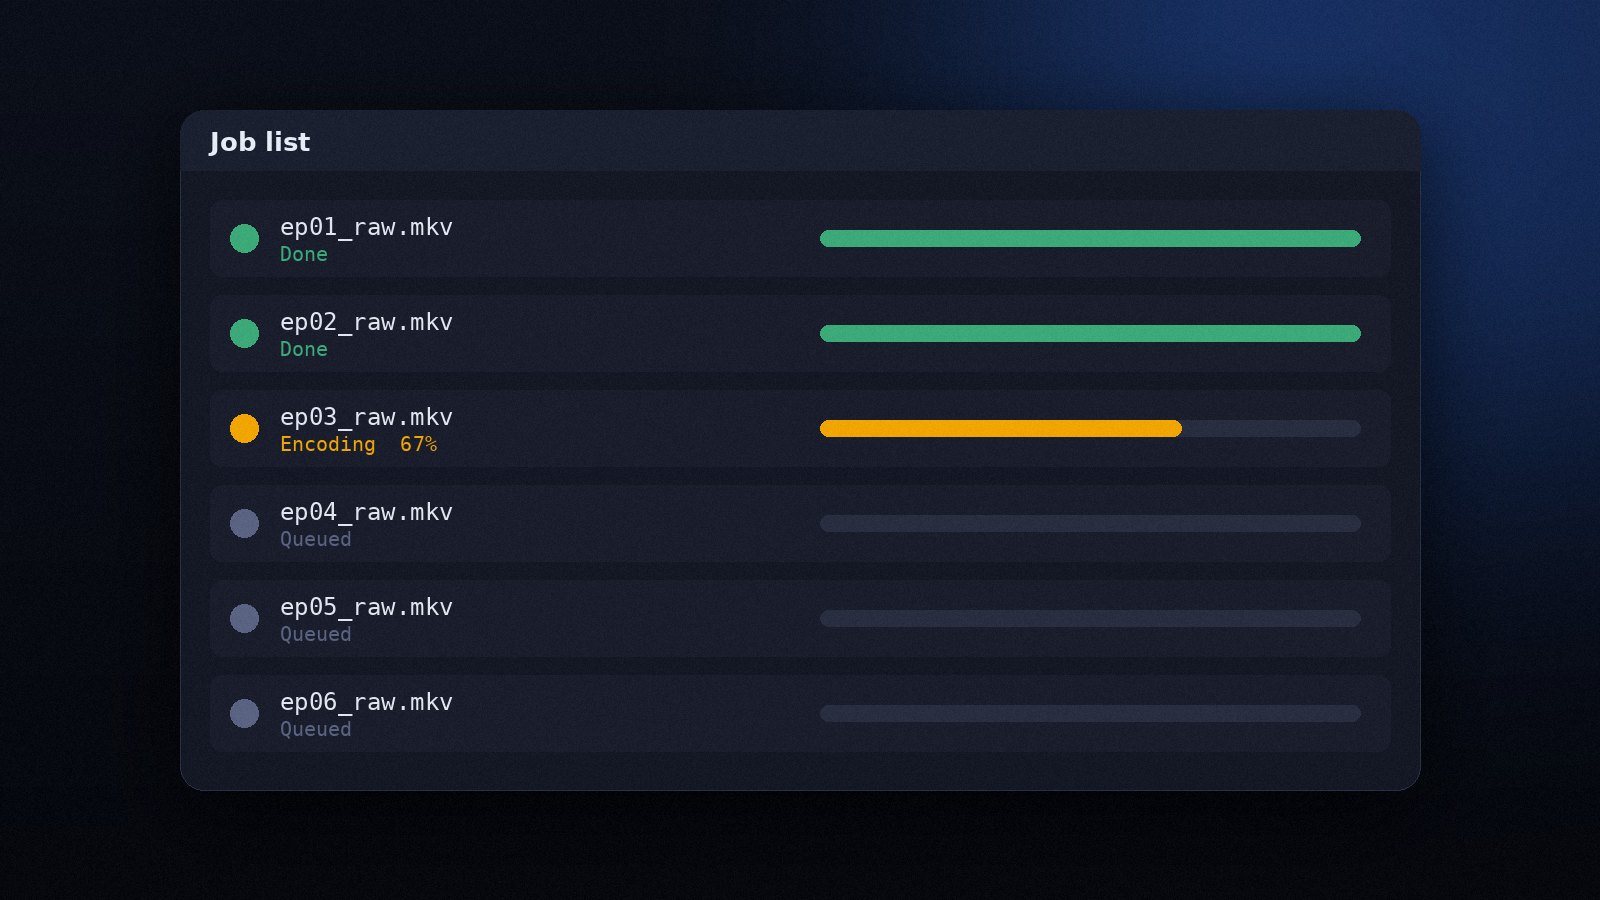
Read the guideOnce you have found settings that work, you rarely want to click through them again for each file. Avidemux offers three levels of automation: the Job list inside the program, project scripts, and the command-line interface.
avidemux_jobs tool) and press Run all jobs.Jobs run one after another and the program can be closed while they encode. The list keeps finished jobs with their status, so a failed job is easy to spot and rerun.
File > Project Script > Save as Project writes a small Python script (.py) that records the loaded file, cuts, filters and output settings. Loading the script restores the whole state. Edit the script in a text editor to change the input path and you have a reusable template.
adm = Avidemux()
adm.loadVideo("/videos/input.mkv")
adm.clearSegments()
adm.addSegment(0, 0, 90000000)   # keep the first 90 seconds
adm.videoCodec("x264", "useAdvancedConfiguration=False", "general.params=CRF=23")
adm.audioCodec(0, "Faac")
adm.setContainer("MP4", "muxerType=0")
adm.save("/videos/output.mp4")The avidemux3_cli binary accepts the same options and runs without a window, which suits servers and scheduled tasks. A shell loop processes a folder:
for f in *.mkv; do
  avidemux3_cli --load "$f" --video-codec x264 --audio-codec Faac \
    --output-format MP4 --save "${f%.mkv}.mp4" --quit
done
On Windows the same loop works in PowerShell with avidemux_cli.exe. Use --run script.py to apply a saved project to a different file.
Get Avidemux running on any desktop system, pick the right build for your hardware and check the installation works.
Read the guide
Set A and B markers, remove unwanted parts and save the result in seconds using Copy mode, with no quality loss.
Read the guide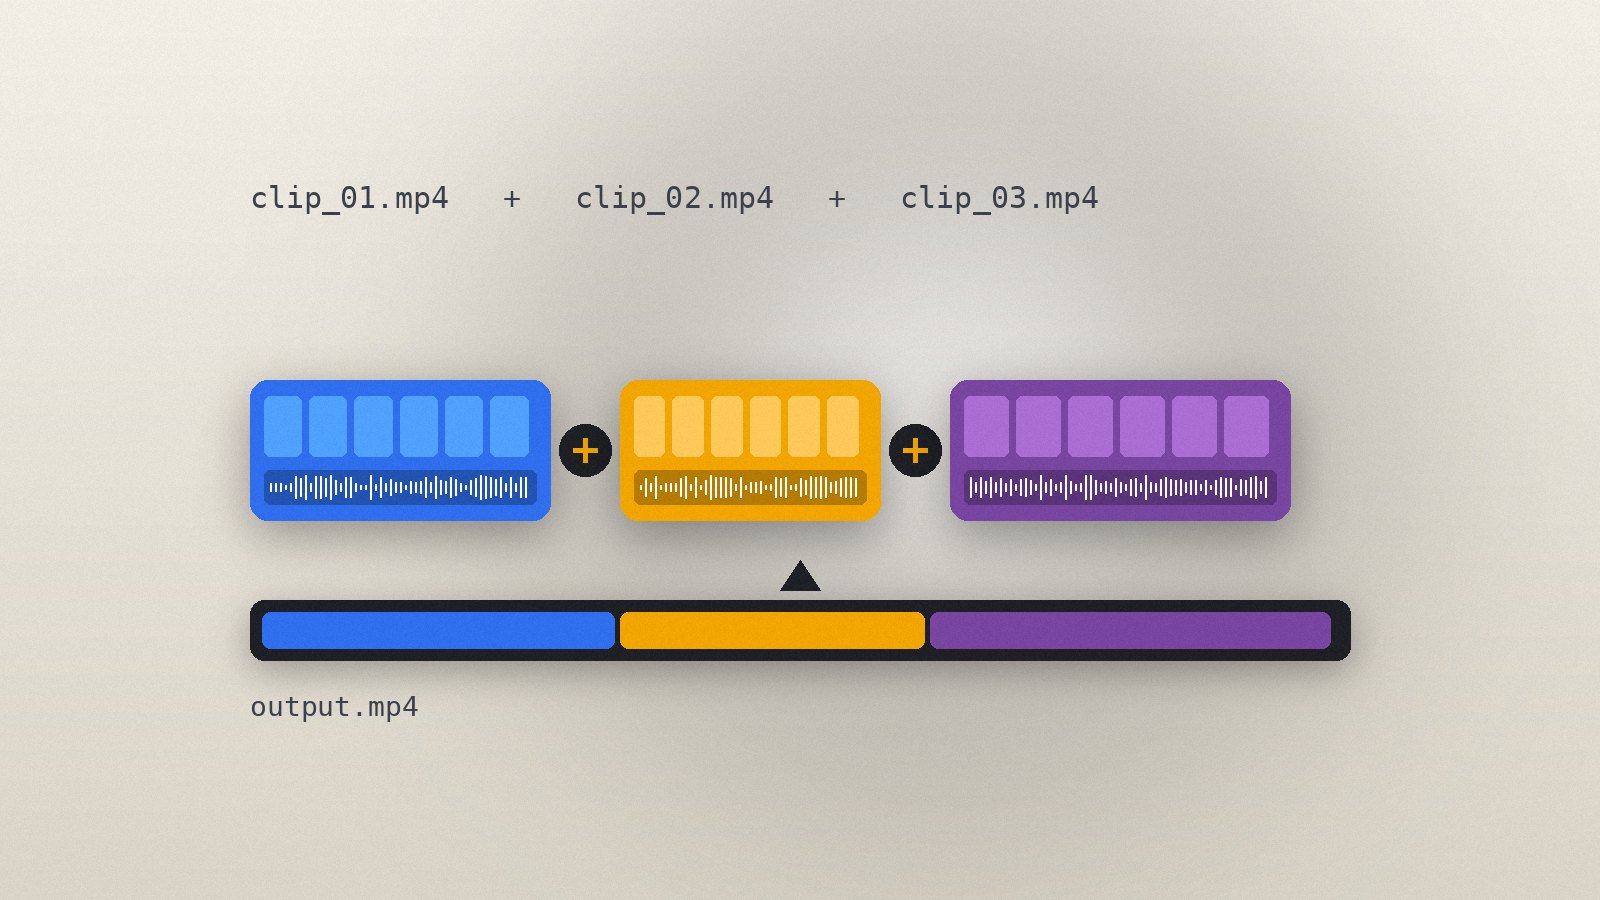
Append several clips into one file, what the clips must have in common and how to handle sources that do not match.
Read the guide