 Avidemux

Editing
Cutting and Trimming Video in Avidemux Without Re-encoding
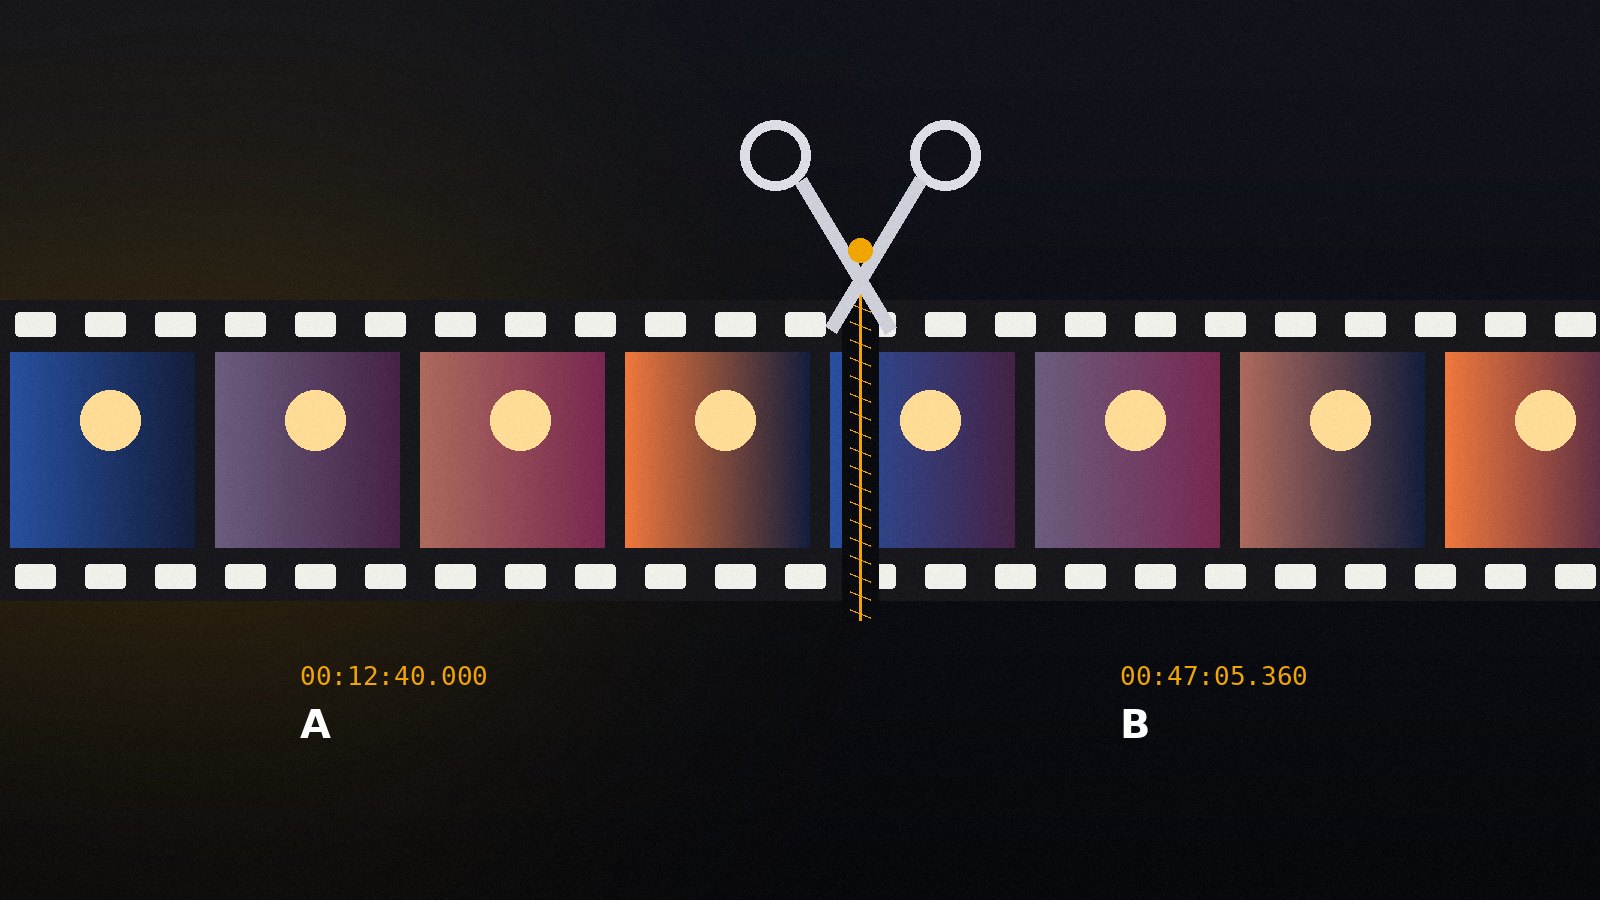
Set A and B markers, remove unwanted parts and save the result in seconds using Copy mode, with no quality loss.
Read the guideAvidemux runs on Windows, macOS and most Linux distributions. The program ships as a single application with the editor, the filters and the encoders built in, so there is no separate codec pack to install. This guide walks through each platform and ends with a short check that confirms everything works.
Avidemux is a 64-bit application. On Windows it needs Windows 10 or later; on macOS it runs on 10.13 and newer; on Linux it needs Qt 5 or Qt 6 libraries, which the package manager handles for you. A dedicated GPU is optional, but it enables hardware encoding on supported systems.
avidemux.exe.Windows SmartScreen may ask for confirmation the first time because the build is not signed by a commercial certificate. Choose "More info" and then "Run anyway".
.dmg image and open it.Apple Silicon Macs run the Intel build through Rosetta 2. Encoding speed is fine for most work, but native builds compiled from source perform better on long jobs.
Most distributions carry Avidemux in their repositories or as an AppImage. The AppImage is the simplest path because it bundles every dependency.
# AppImage
chmod +x avidemux_2.8.1.appImage
./avidemux_2.8.1.appImage

# Debian / Ubuntu (if packaged by your distribution)
sudo apt install avidemux-qt

# Fedora (RPM Fusion)
sudo dnf install avidemuxThe source archive on this site contains the full project. Building takes 10 to 30 minutes depending on the machine and needs CMake, a C++ compiler, Qt development files and the usual multimedia libraries.
unzip avidemux2-master.zip && cd avidemux2-master
bash bootStrap.bash --with-system-ffmpeg   # Linux
# Windows: see cmake/README in the archive, uses MSYS2 or MSVCOpen the program, drag a short MP4 file into the window and press the play button under the preview. If the picture and sound play, the decoders are working. Next, open Video Output and confirm that encoders such as Mpeg4 AVC (x264) appear in the list. If the list is empty, the plugin folder was not found; reinstalling to the default location fixes this.
Tip: Keep the previous version's installer until you have tested a new release on your usual files. Avidemux versions can be installed side by side on Windows by picking a different folder.
Set A and B markers, remove unwanted parts and save the result in seconds using Copy mode, with no quality loss.
Read the guide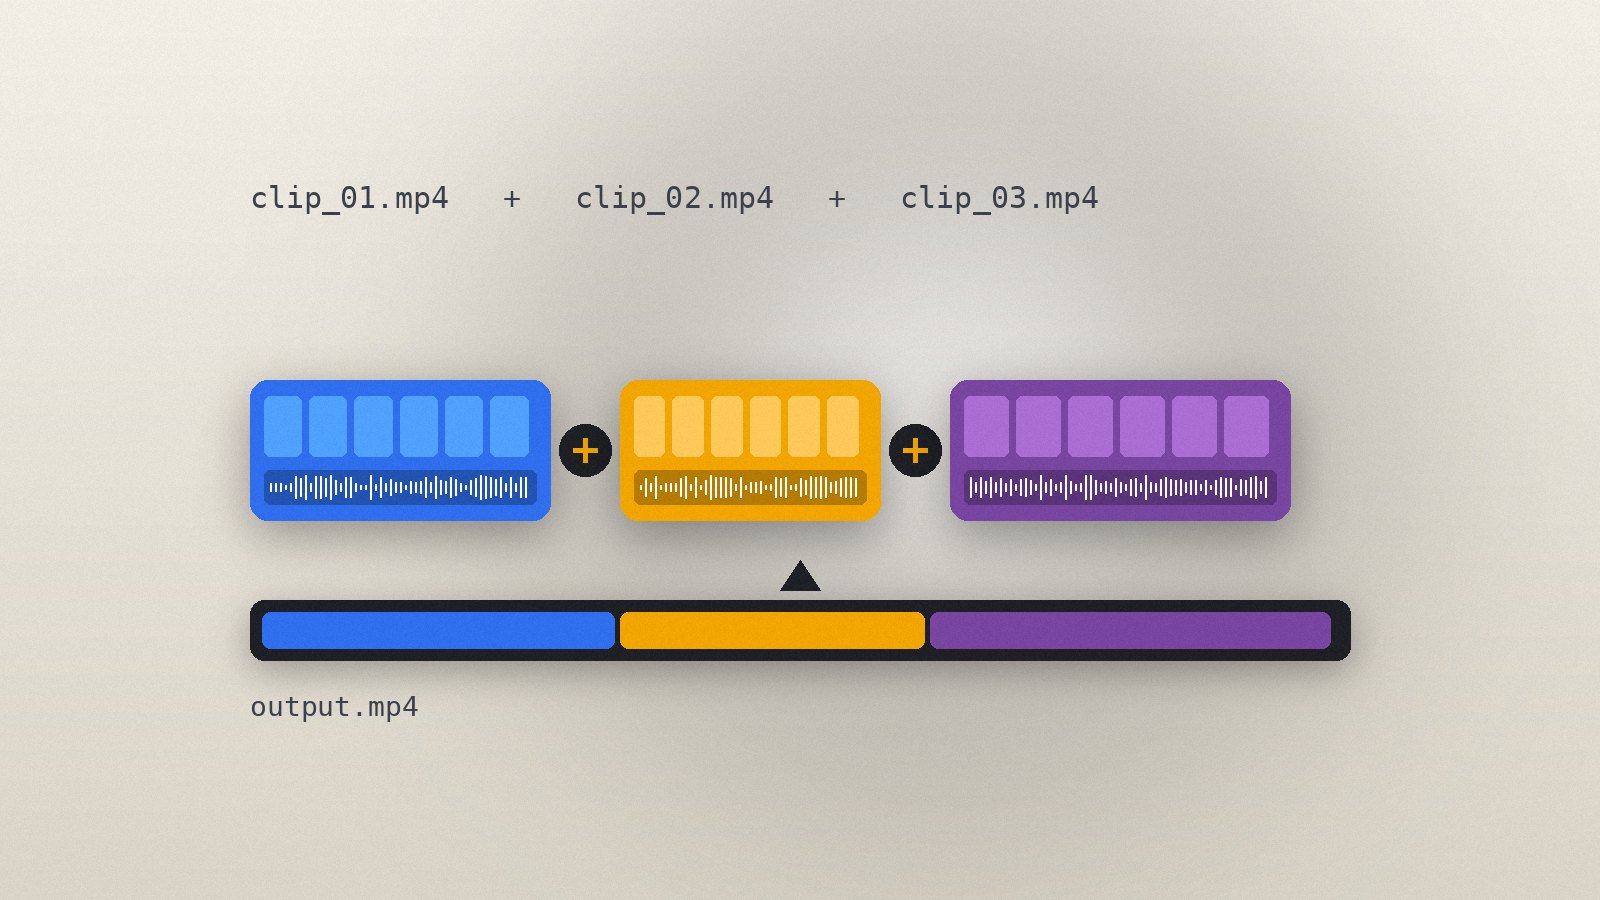
Append several clips into one file, what the clips must have in common and how to handle sources that do not match.
Read the guide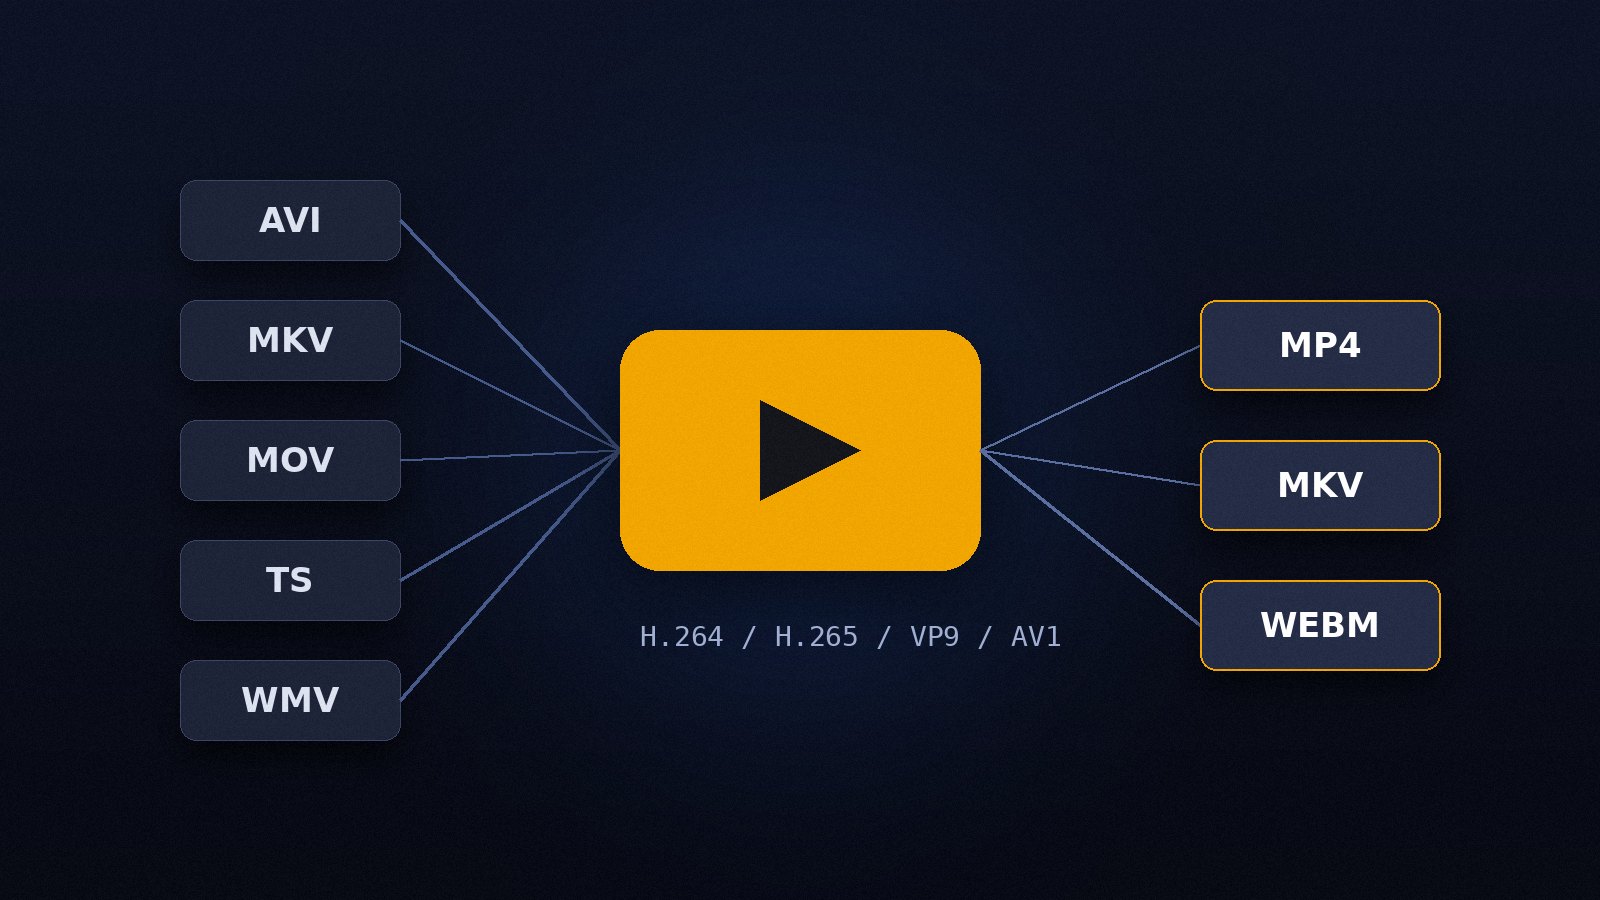
Change the container or re-encode the streams, understand the difference, and pick settings that play everywhere.
Read the guide