 Avidemux
Encoding
Converting Video Formats with Avidemux: MP4, MKV, AVI and More
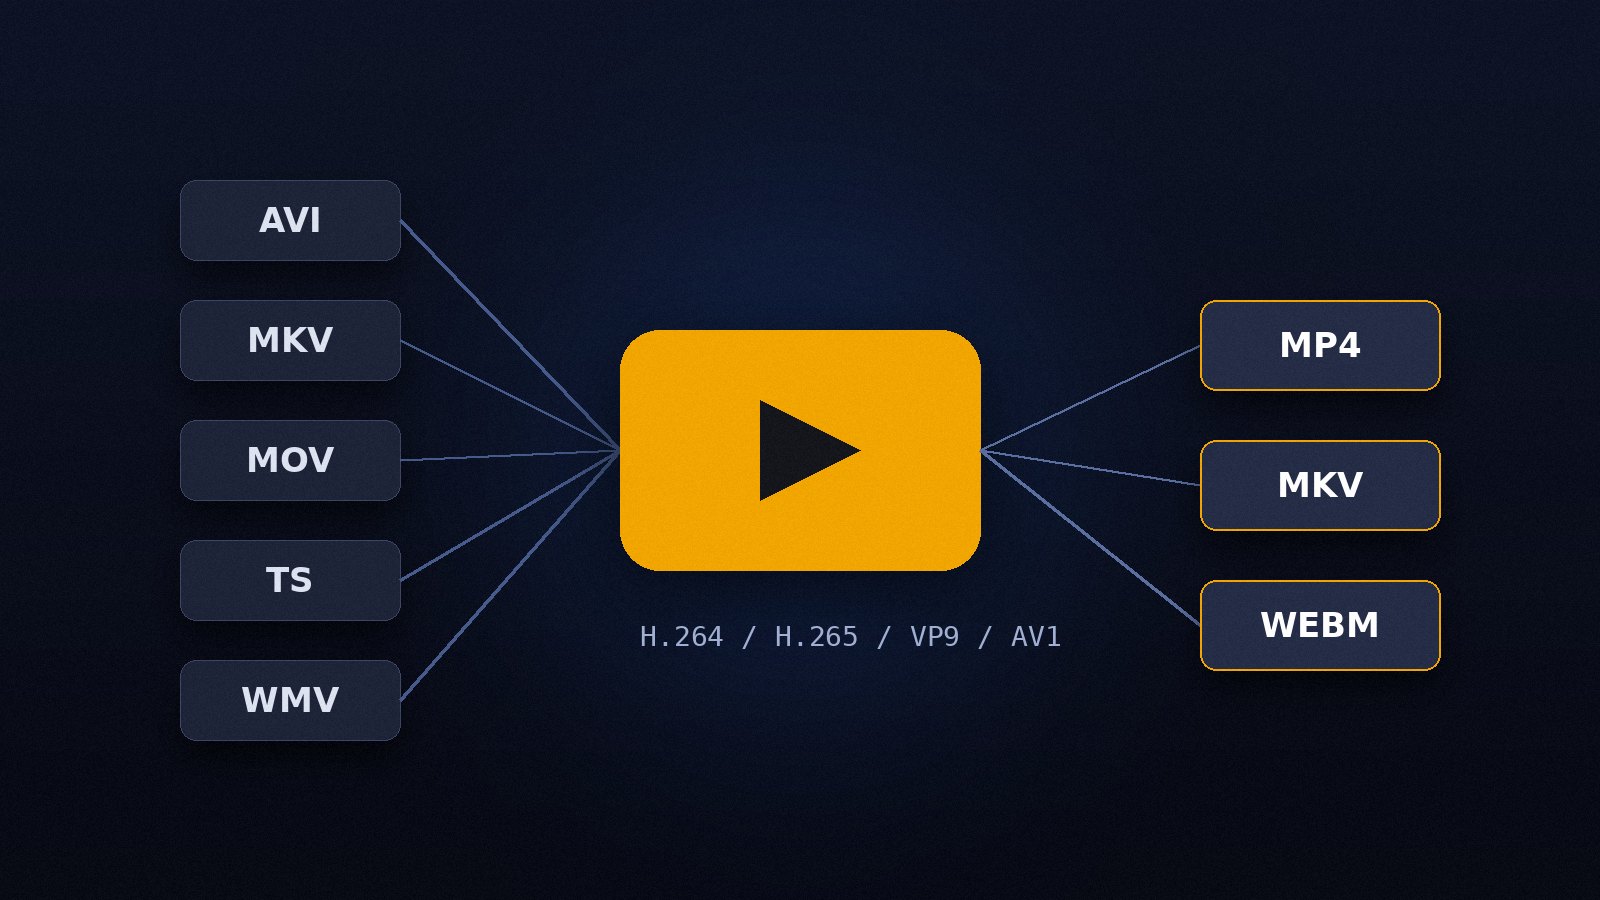
Change the container or re-encode the streams, understand the difference, and pick settings that play everywhere.
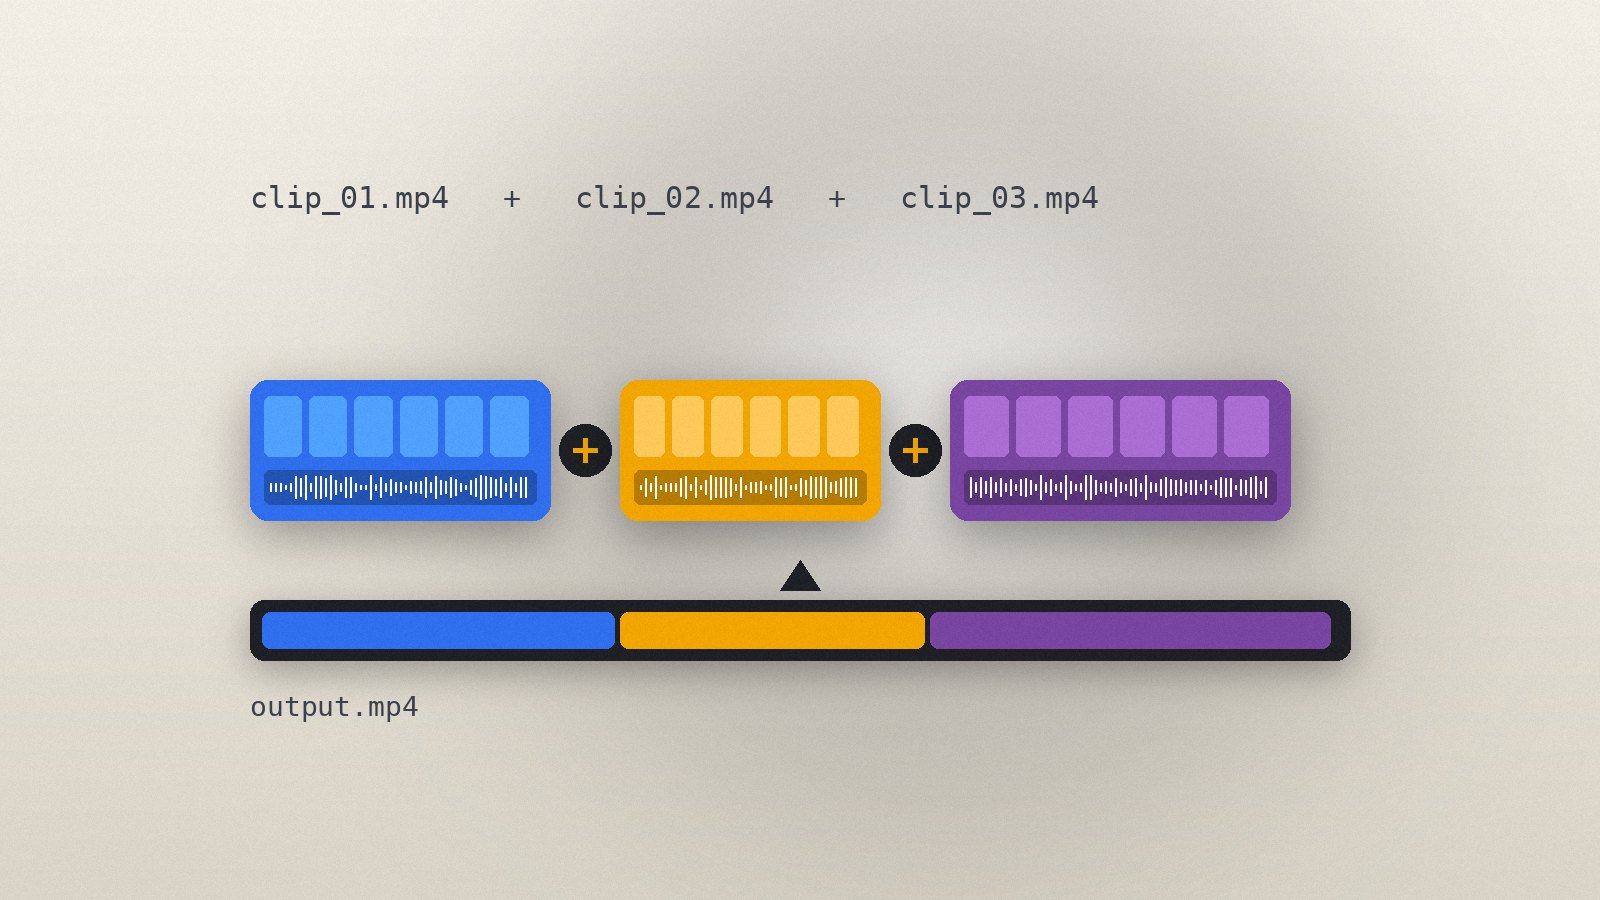
Read the guideAvidemux can glue several files together with File > Append. The feature is quick when the clips share the same format, and this guide explains what "the same" means in practice, plus what to do when the clips differ.
Every clip must match the first one in these properties:
Camera clips from the same device almost always match. Files from different sources usually do not, and appending them in Copy mode produces playback glitches or a file that refuses to open.
Copy, pick the matching muxer and save.Convert every clip to a common format first. Open each one, set the same video encoder and settings (for example x264, CRF 20, 1920x1080, 25 fps through the Resize and Change FPS filters) and the same audio encoder, then save. After that, the converted files append without problems.
Numbered sequences such as clip_001.mp4, clip_002.mp4 can also be opened in one go: pick the first file and confirm when Avidemux asks whether to load the rest of the sequence.
Play across each join point in the preview. A frozen picture or a short audio dropout at a join means the parameters differed. Re-encoding the output with a video codec usually resolves it, since the encoder rebuilds the stream from decoded frames.
Change the container or re-encode the streams, understand the difference, and pick settings that play everywhere.
Read the guide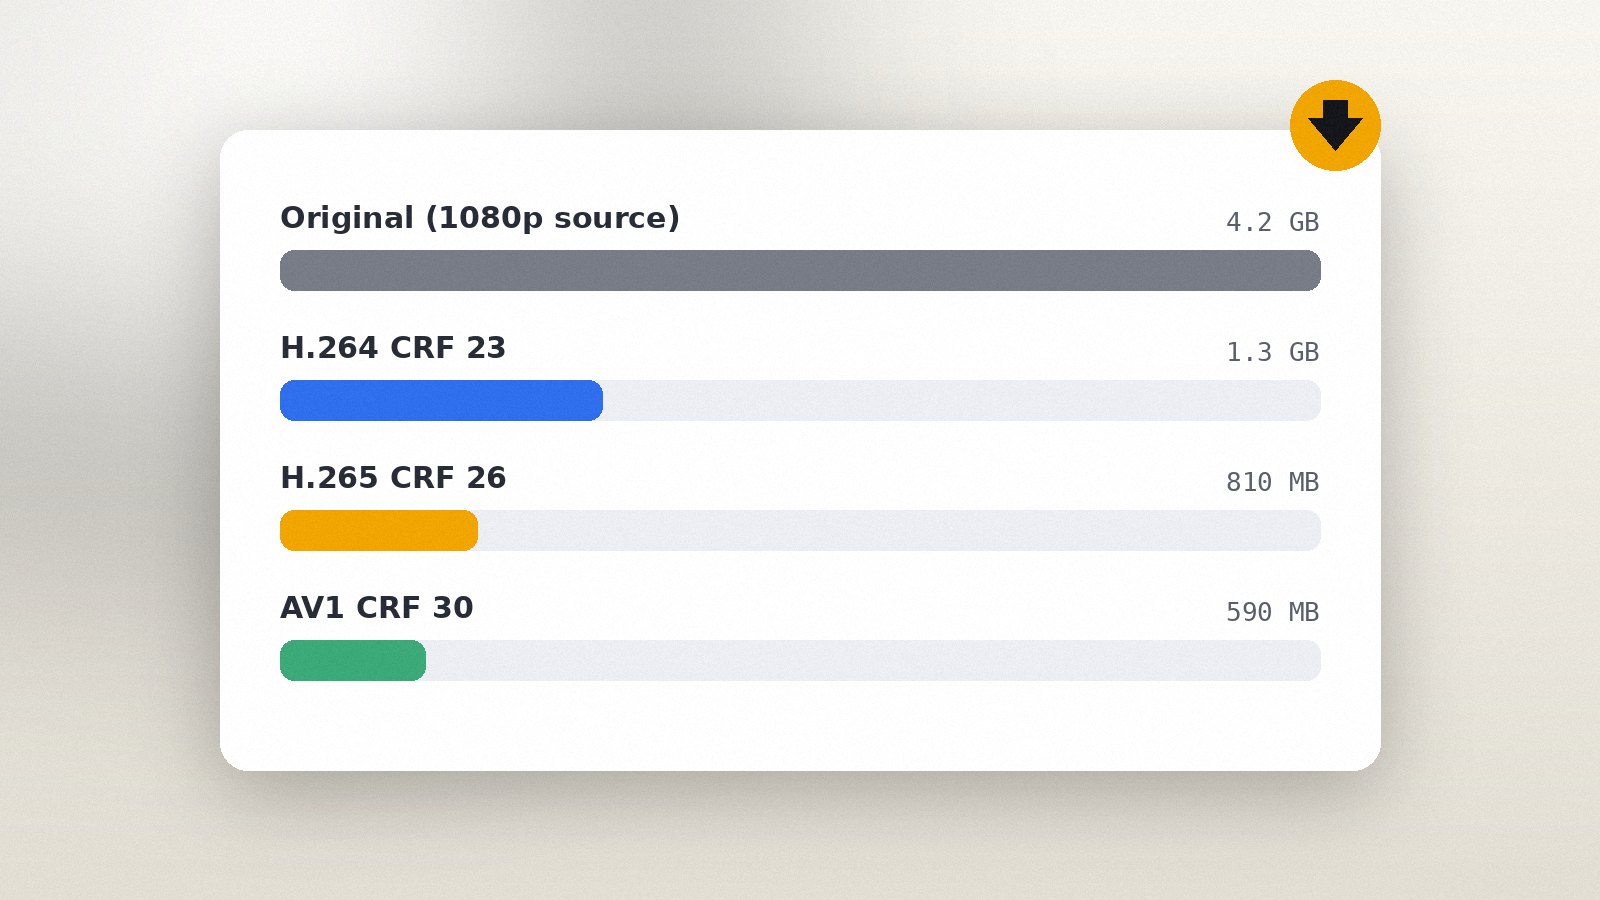
Reduce file size with CRF or a target size, choose presets wisely and keep the picture looking good.
Read the guide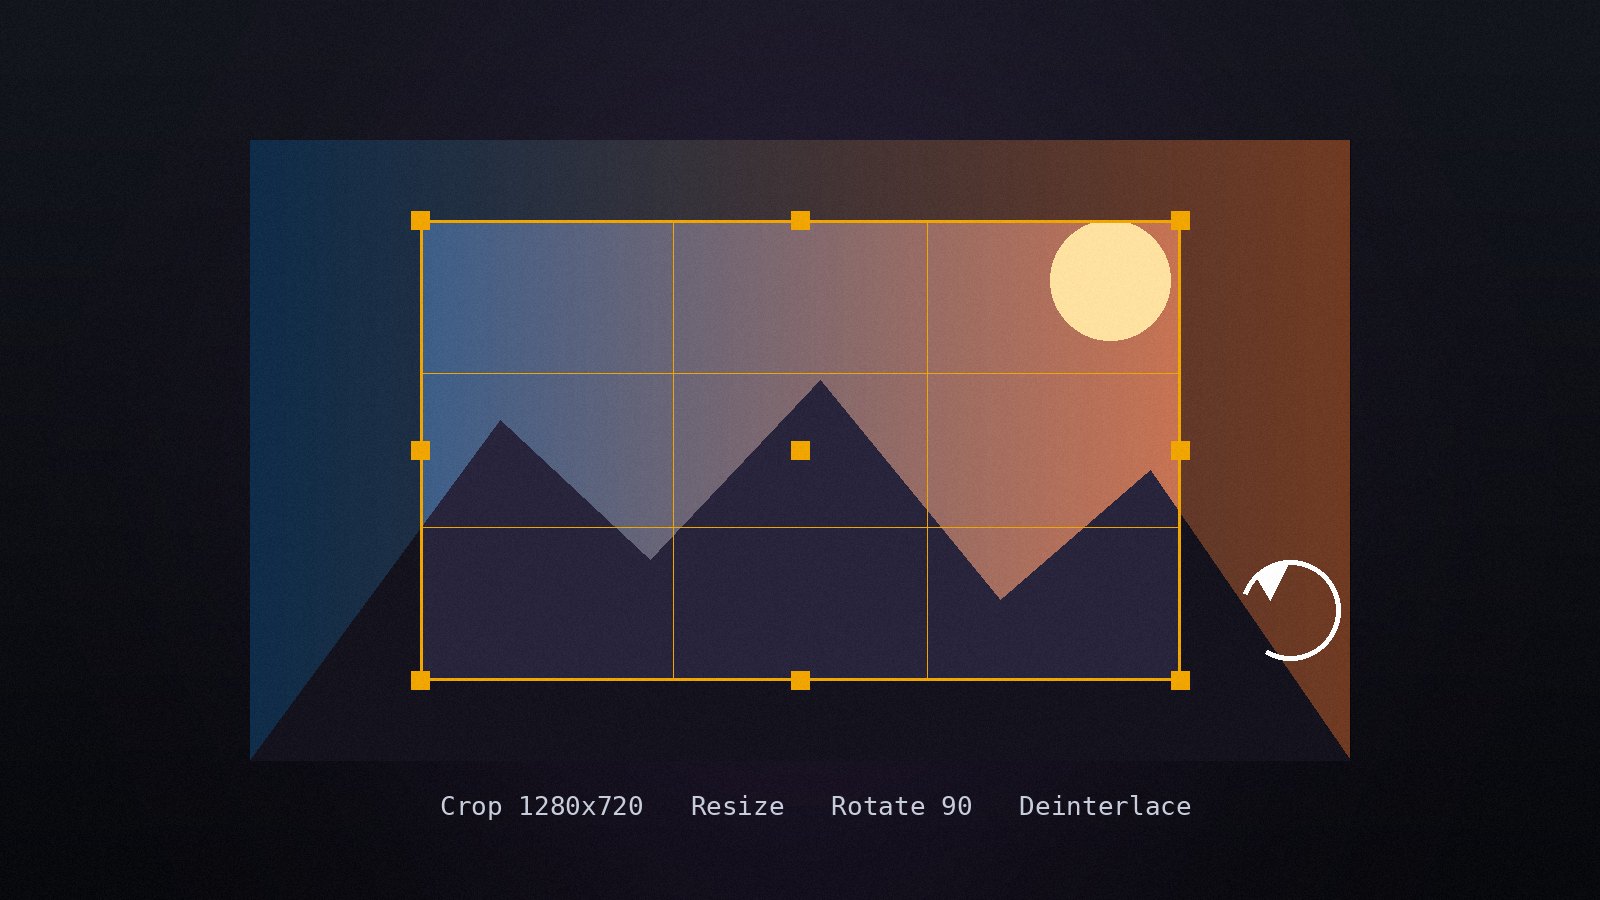
Apply the built-in video filters in the right order, preview the result and fix common picture problems.
Read the guide