 Avidemux
Filters
Using Avidemux Filters: Crop, Resize, Rotate and Deinterlace
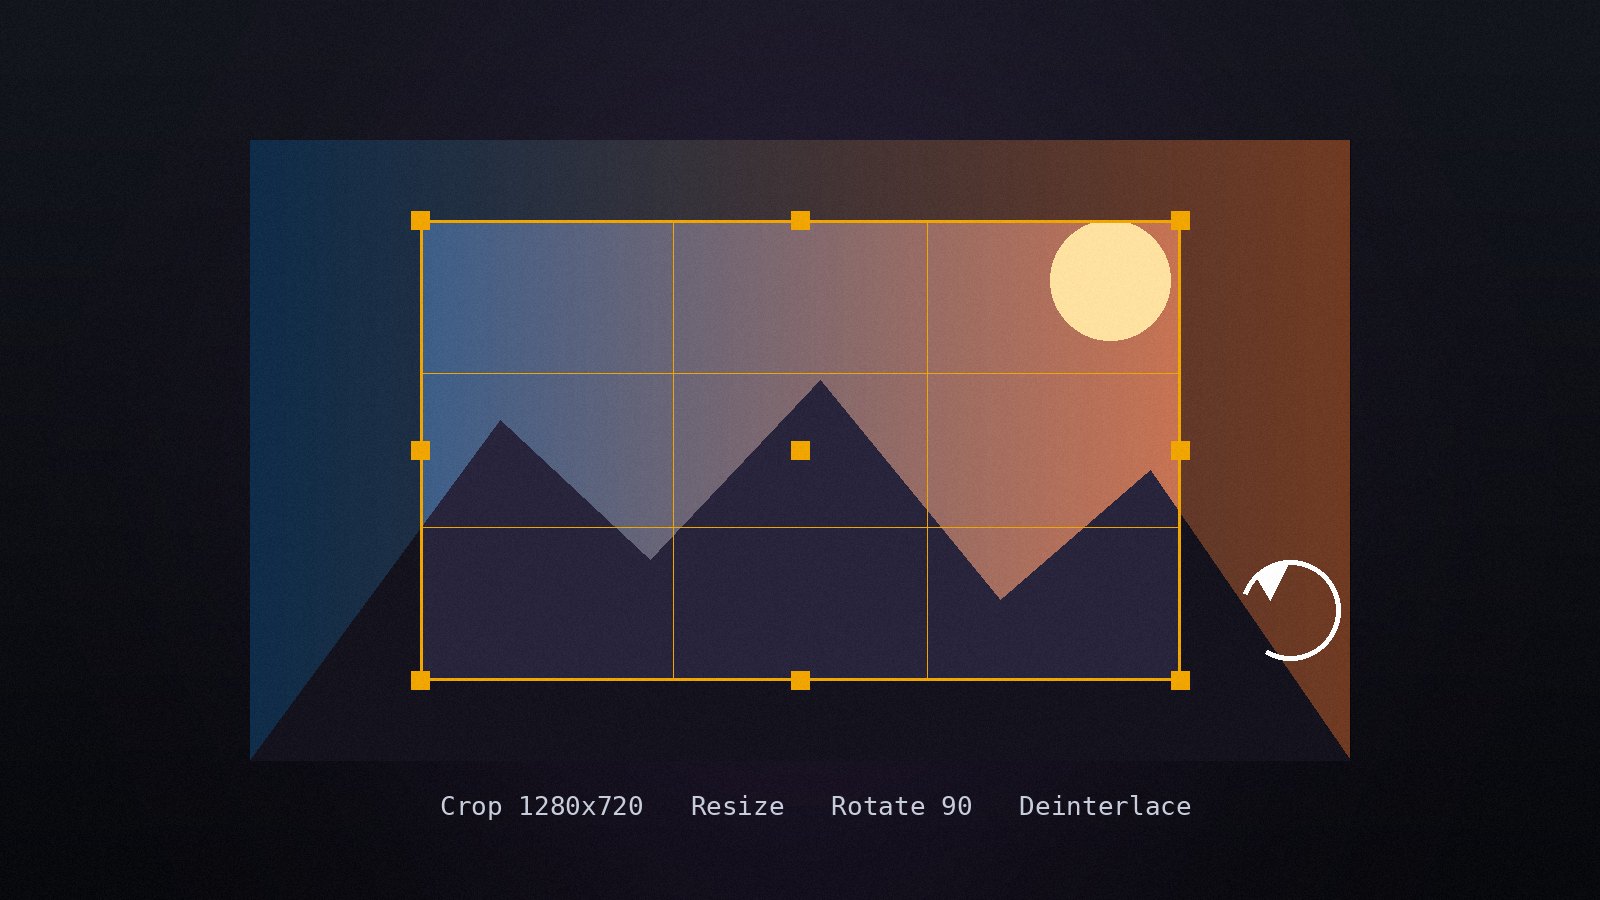
Apply the built-in video filters in the right order, preview the result and fix common picture problems.
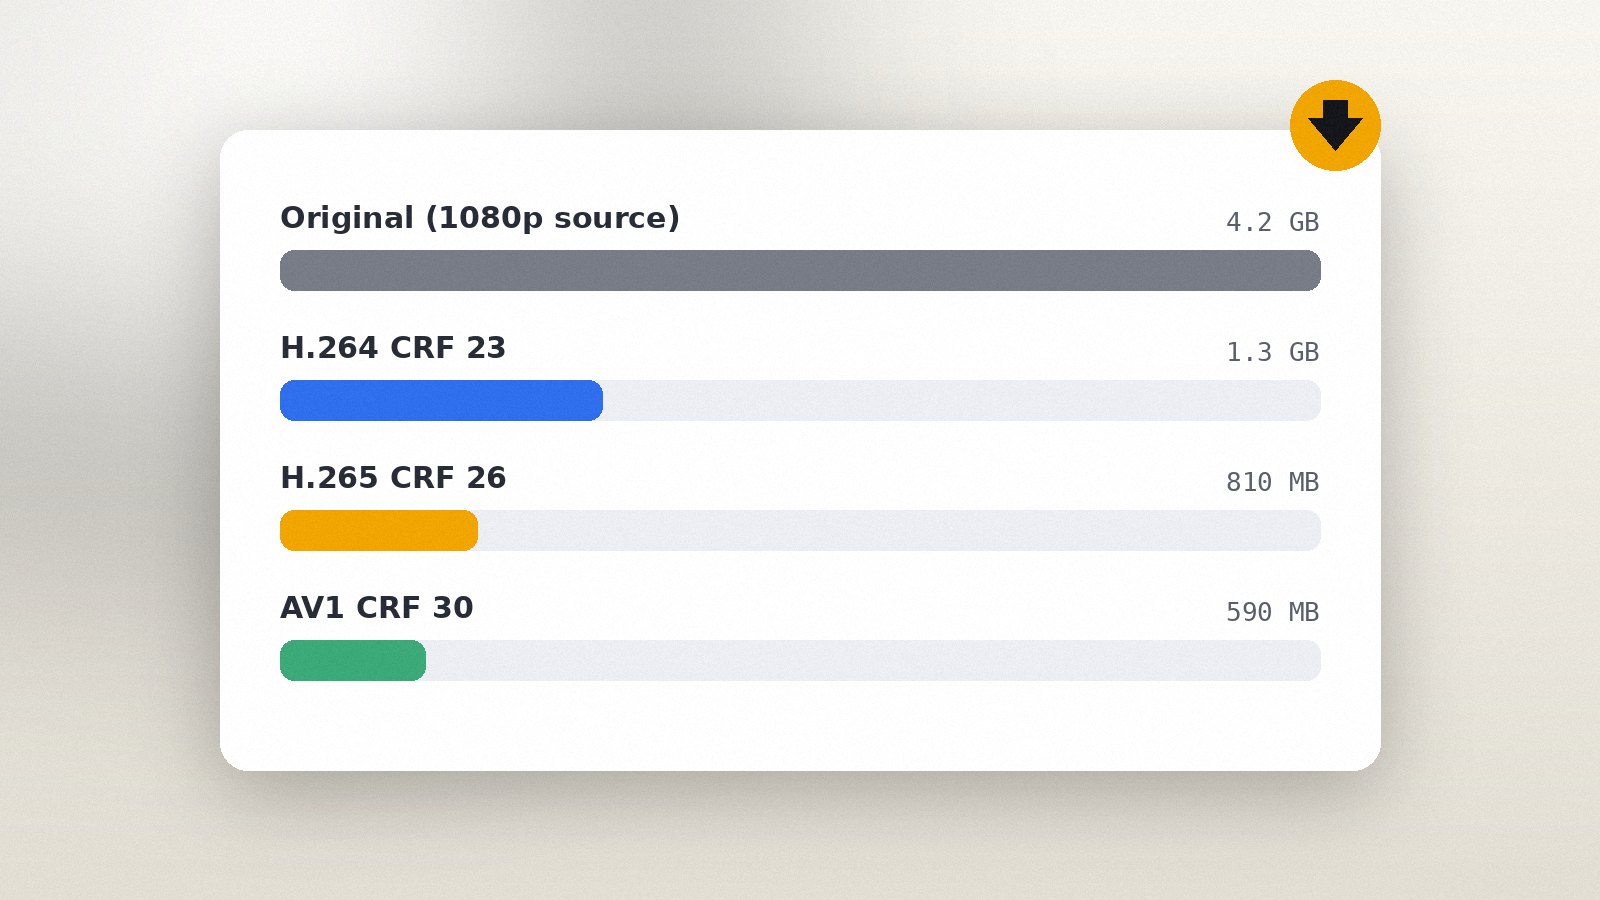
Read the guideCamera and screen recordings are often many times larger than they need to be. Avidemux includes the x264 and x265 encoders, which can cut a file to a third of its size or less with no visible change. This guide covers the two ways to control size and the settings that matter.
CRF tells the encoder to keep a constant visual quality and use as many bits as that needs. Set Video Output to Mpeg4 AVC (x264), open Configure and choose Constant Rate Factor.
If the output must fit a limit, such as 700 MB or an upload cap, pick Video Size (Two Pass) and enter the size in MB. Avidemux encodes the file twice; the first pass measures complexity and the second spends the bits where they are needed. Expect roughly double the encoding time.
The Preset option trades speed for compression efficiency. medium is the default; slow gives a few percent smaller files; veryslow is rarely worth it. Use Tune only when the content matches: film for camera footage, animation for cartoons, grain to preserve film grain.
Downscaling from 4K to 1080p with the swResize filter often saves more than any encoder setting, and 1080p is enough for most screens. Keep the frame rate as recorded unless the source was captured at an unusual rate.
Audio is small compared with video but still worth setting: AAC at 128 kbps for stereo speech and music, 192 kbps for high-quality music, or Copy if the source is already AAC.
On systems with NVIDIA, Intel or AMD GPUs, Avidemux lists NVENC, QSV or VA-API encoders. They are much faster but produce larger files at the same quality, so they are a better fit for quick previews than for archive copies.
Rule of thumb: encode a two-minute section first, compare it against the source at full screen, then run the full file with the same settings.
Apply the built-in video filters in the right order, preview the result and fix common picture problems.
Read the guide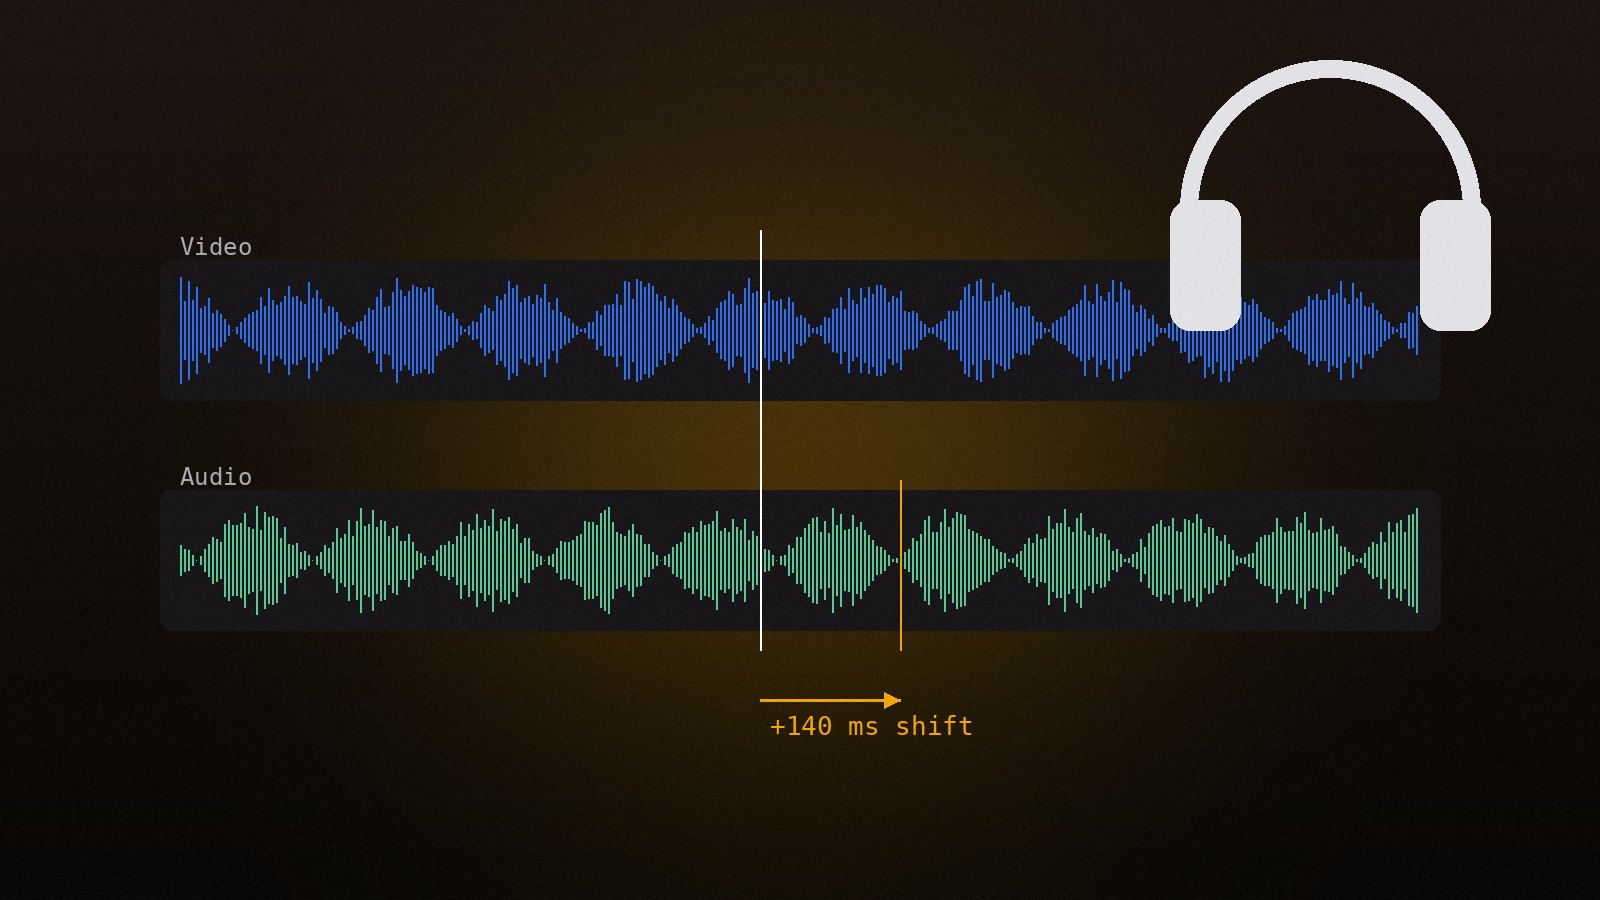
Shift audio to match the picture, replace or add tracks, change volume and convert the audio codec.
Read the guide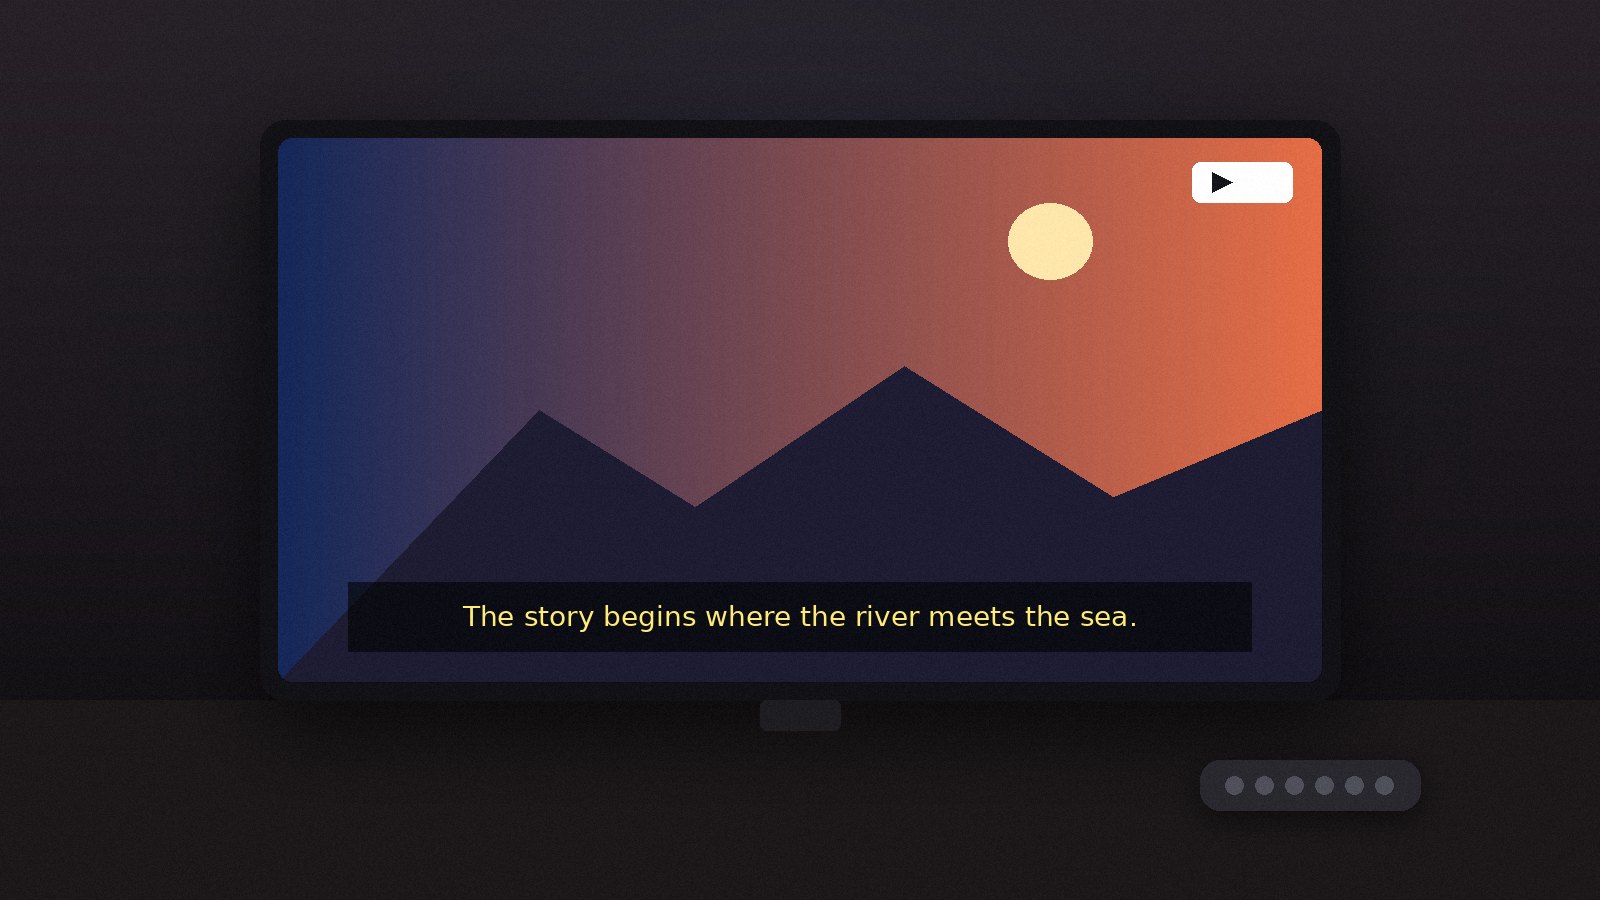
Burn SRT or ASS subtitles into the picture, choose fonts and position, and overlay a logo or watermark.
Read the guide