 Avidemux
Editing
Cutting and Trimming Video in Avidemux Without Re-encoding
Set A and B markers, remove unwanted parts and save the result in seconds using Copy mode, with no quality loss.
Read the guideAvidemux is a free video editor for simple cutting, filtering and encoding. It opens AVI, MP4, MKV, MPEG and most other formats, trims clips without re-encoding, converts between codecs with x264 and x265, and runs on Windows, macOS and Linux.
A focused editor for the jobs that come up every day: trimming, joining, converting and fixing video files.
Avidemux was written from scratch by its original developer, Mean, and has grown through contributions from many people over more than twenty years. It is not a timeline editor with layers and transitions. Instead it works on one video file at a time and gives you precise control over three things: which parts to keep, which filters to apply and how to encode the result.
Because the video and audio output can be set to Copy, most jobs finish in seconds and leave the picture untouched. When a filter or a new codec is needed, the built-in encoders handle the work with the same options professionals use on the command line, presented in a dialog with a preview.
Automation is part of the design. Settings can be saved as projects, encodes can be queued in a job list, and a command-line build runs the same operations without a window.
Everything runs from one window: output settings on the left, preview in the middle, timeline and markers underneath.
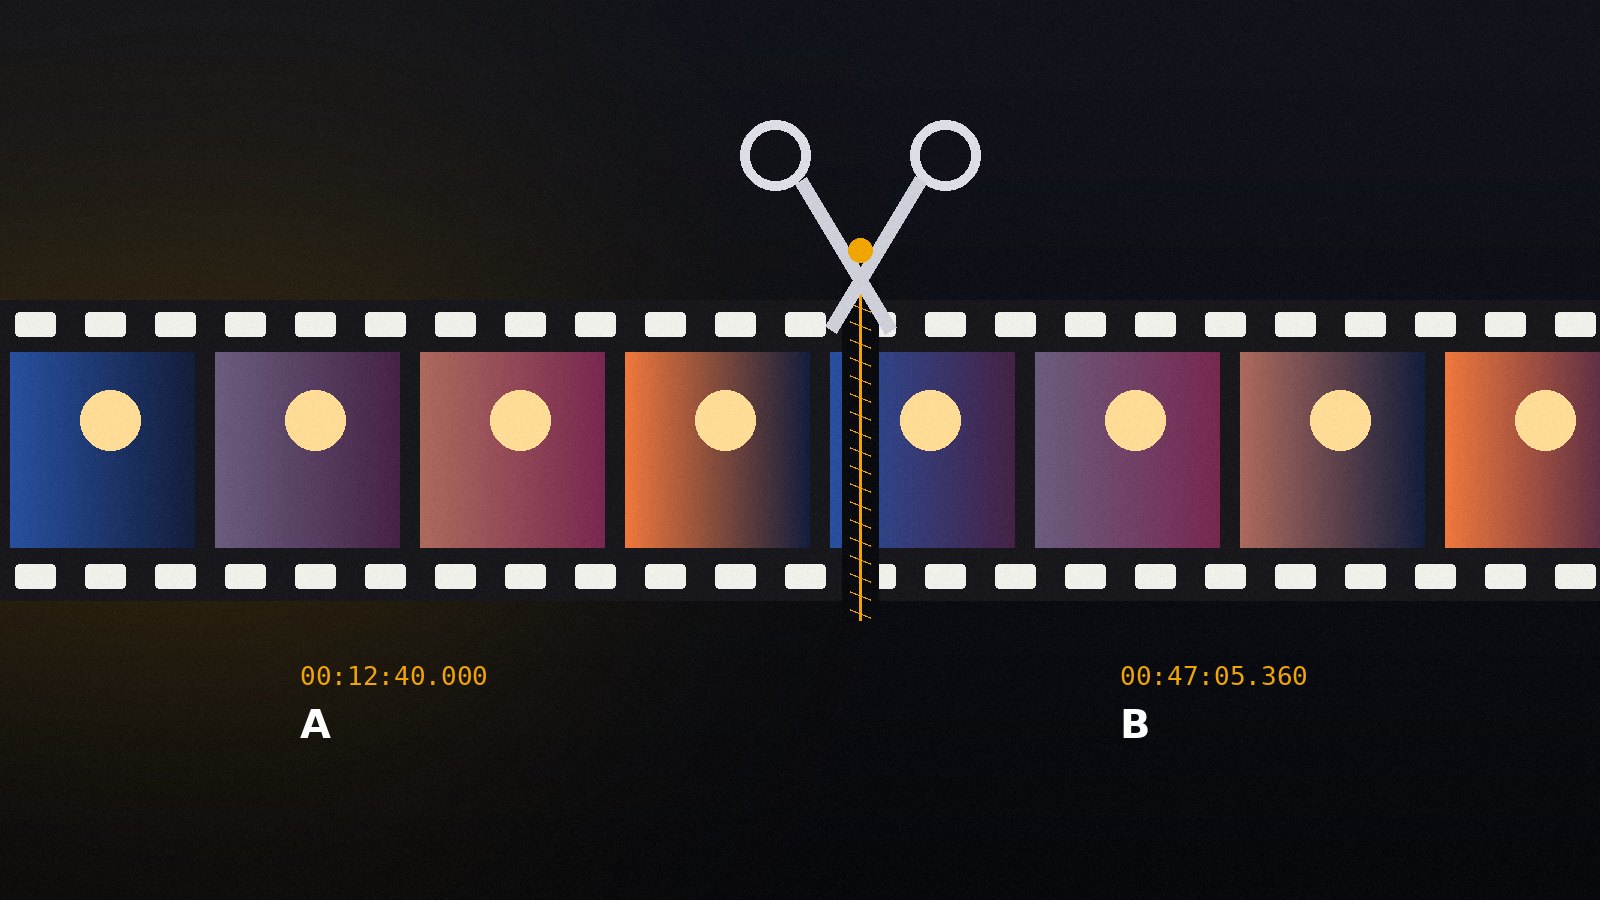
Set A and B markers and delete or keep sections in Copy mode. The save takes seconds and the output quality matches the source.
Join several files into one with File > Append. Numbered sequences from cameras load in a single step.
Remux between MP4, MKV, AVI, MOV and WebM, or re-encode with x264, x265, VP9, AV1 and MPEG-2.
CRF and two-pass target-size modes shrink recordings to a fraction of their size while keeping detail.
Crop, resize, rotate, deinterlace, denoise, sharpen, colour-correct and stabilise through a preview-able filter chain.
Shift audio to fix sync, add or replace tracks, normalise volume, downmix channels and convert to AAC, MP3 or AC3.
Burn SRT, SSA or ASS subtitles into the picture and overlay a PNG watermark at any position.
Queue encodes, save projects as Python scripts and run the command-line build on whole folders.
Four steps from download to the first saved file. The full walkthrough for each platform is in the installation guide.
Pick the Windows installer, the macOS disk image or the Linux AppImage. The source archive on this page builds on all three platforms.
Run the installer on Windows, drag the app to Applications on macOS, or mark the AppImage executable on Linux. No extra codec packs are needed.
Drag a video into the window and press play. If picture and sound work, the decoders are ready.
Set Video Output, Audio Output and Output Format in the left panel, then use File > Save. Copy mode is the fastest choice for cuts.
Avidemux ships with its own demuxers, decoders and encoders, so the list below works out of the box without extra codec packs.
| Type | Input (demux / decode) | Output (encode / mux) |
|---|---|---|
| Containers | AVI, MP4, MKV, MOV, MPEG-PS, MPEG-TS, FLV, WebM, OGM, ASF, 3GP, DV, NuppelVideo | MP4, MKV, AVI, WebM, MOV, FLV, MPEG-PS, MPEG-TS, OGM |
| Video codecs | H.264, H.265/HEVC, VP8, VP9, AV1, MPEG-1/2, MPEG-4 ASP (DivX, Xvid), DV, MJPEG, ProRes, HuffYUV, FFV1 | x264, x265, VP9, AV1 (aom / SVT), MPEG-2, Xvid, HuffYUV, FFV1, NVENC / QSV / VA-API (hardware) |
| Audio codecs | AAC, MP3, MP2, AC3, E-AC3, DTS, Vorbis, Opus, FLAC, PCM/WAV, WMA | AAC (FDK, lav), MP3 (lame), AC3, Vorbis, Opus, FLAC, PCM |
| Subtitles | SRT, SSA/ASS, VobSub (idx/sub), DVB | Burned into the picture through filters |
Files that use a codec outside this list can usually still be opened through the libavcodec decoder set built into the program.
Practical walkthroughs written for the tasks people actually do. Each one covers the settings, the reasons behind them and the mistakes to avoid.
Set A and B markers, remove unwanted parts and save the result in seconds using Copy mode, with no quality loss.
Read the guide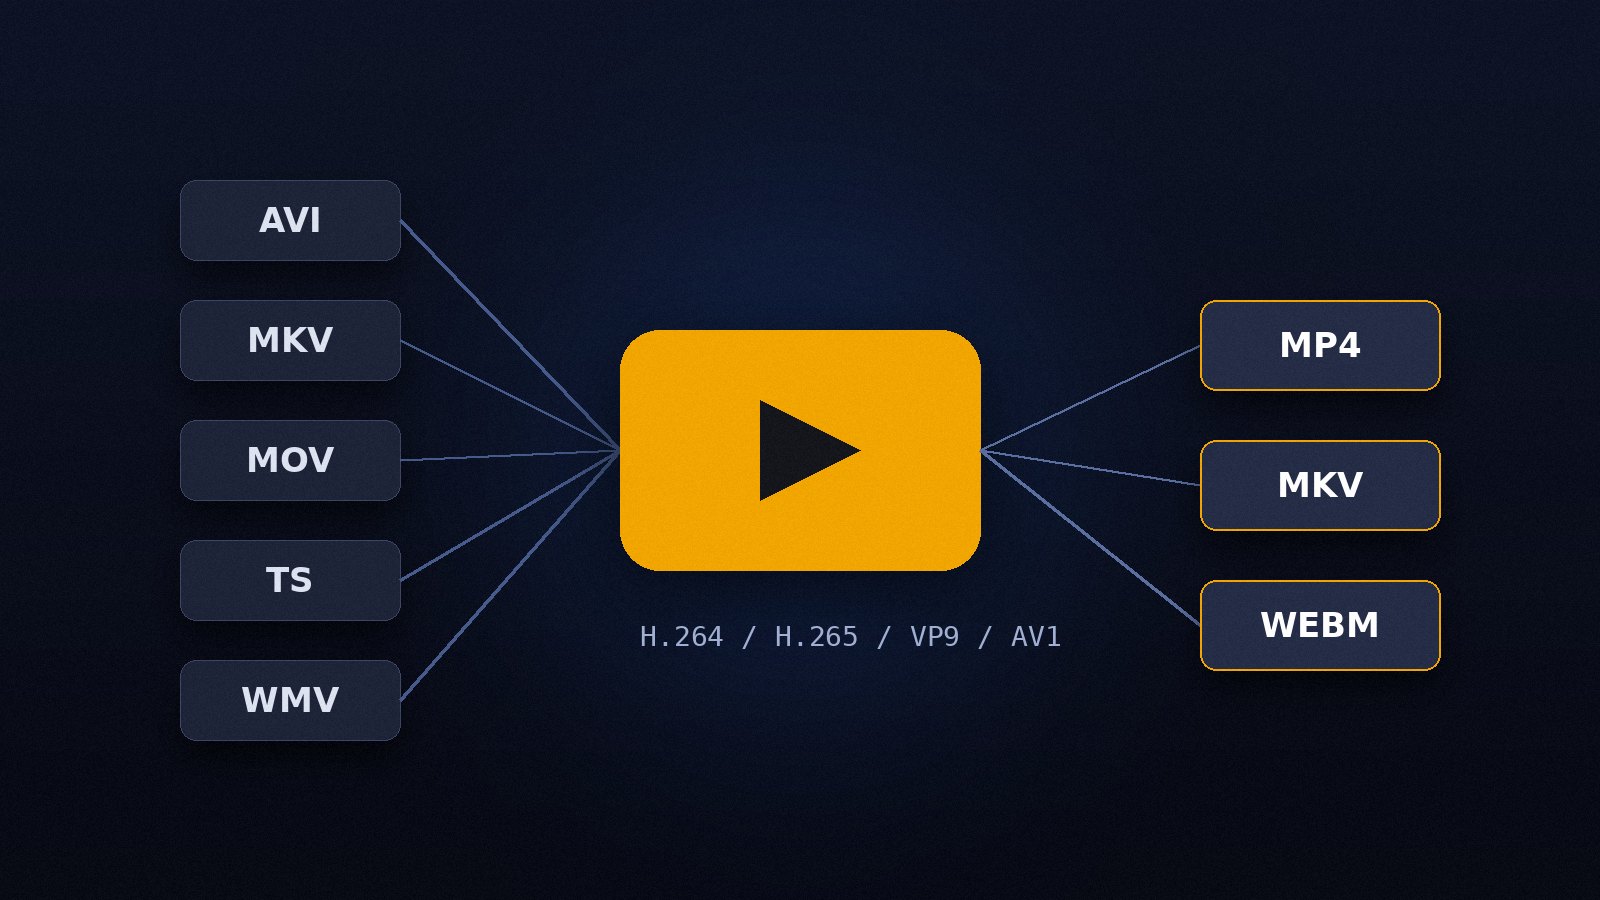
Change the container or re-encode the streams, understand the difference, and pick settings that play everywhere.
Read the guide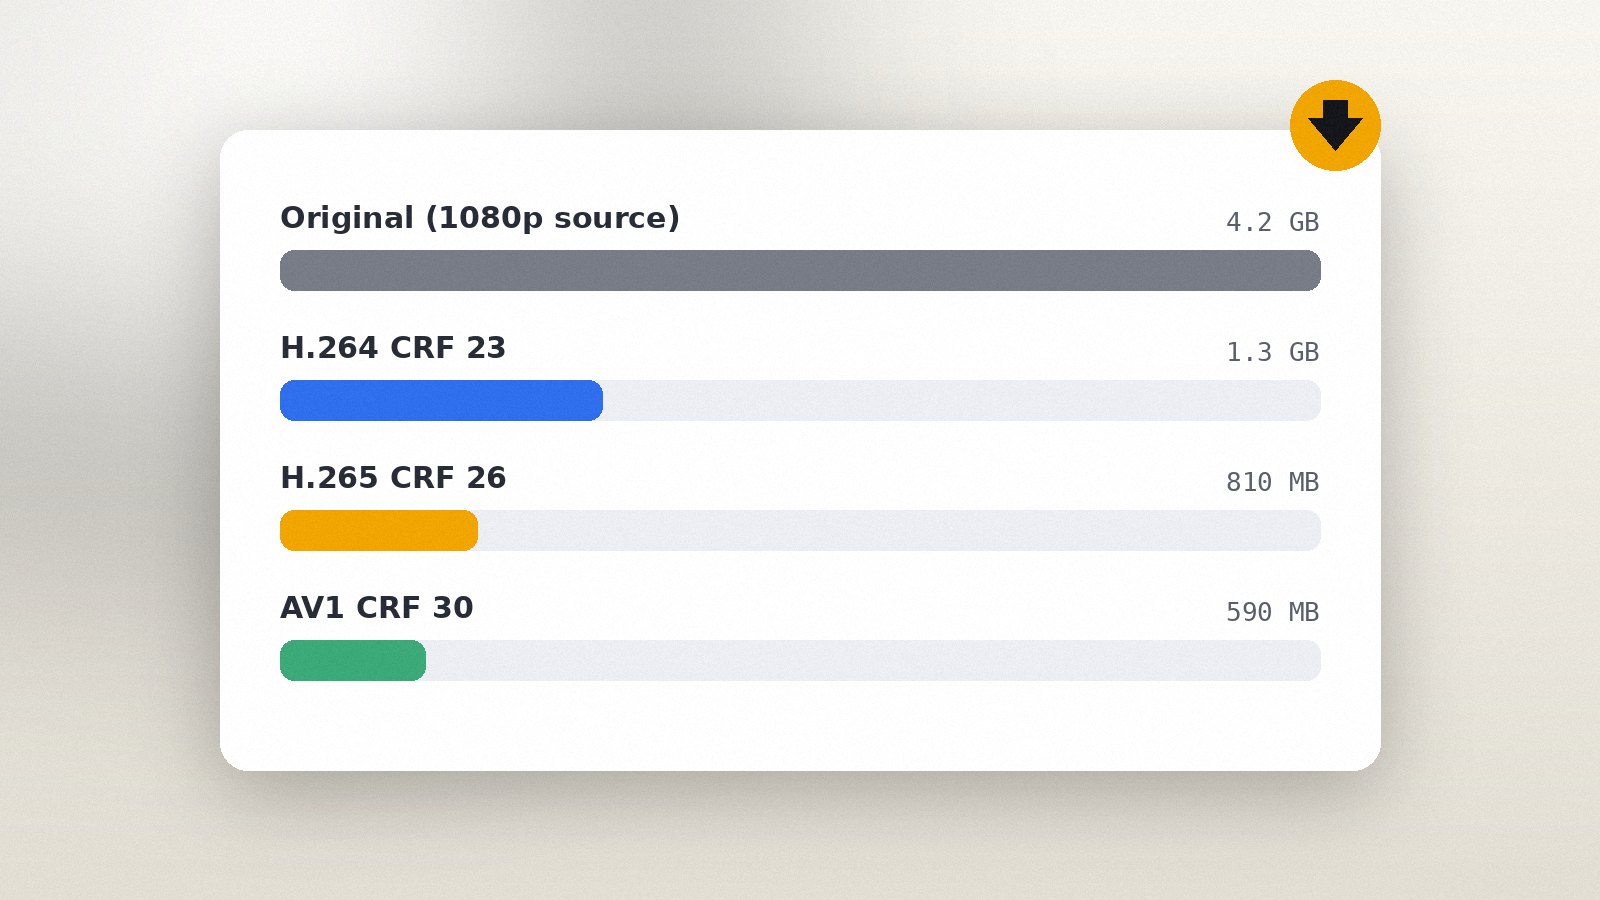
Reduce file size with CRF or a target size, choose presets wisely and keep the picture looking good.
Read the guideThe archive contains the complete Avidemux source tree from the current development branch, including the editor, the filter plugins and the build scripts for Windows, macOS and Linux. Unpack it and follow the installation guide to compile it on your system.
Avidemux is light. Cutting works on almost any machine; encoding benefits from more CPU cores or a supported GPU.
Windows 10 / 11 (64-bit), macOS 10.13 or later, or a Linux distribution with Qt 5/6. 32-bit systems are no longer supported.
Any 64-bit x86 CPU works for cutting. Encoding speed scales with core count; a 4-core CPU encodes 1080p x264 at roughly real time on the medium preset.
4 GB of RAM is enough for cutting and 1080p encoding. 8 GB or more helps with 4K sources and heavy filter chains such as Deshaker.
The program needs about 150 MB. Keep free space equal to the source file size plus the expected output, since two-pass encodes write temporary data.
The program fits best where a full editing suite would be slower than the job deserves.
Remove ads from TV captures, trim the start and end of screen recordings and drop mistakes from camera footage without a full export.
Convert to MP4 with x264 and AAC, downscale to 1080p and hit an upload size limit with two-pass encoding.
Re-encode large archives with x265 to save disk space while keeping a quality that holds up on a large screen.
Queue dozens of files in the Job list or run the CLI from a script to process a folder overnight.
Short answers to the questions that come up most often about Avidemux.
Yes. Avidemux is released under the GNU GPL, which means it is free to download, use and share for personal and commercial work. There is no trial period, paid tier or watermark.
Avidemux runs on Windows 10 and 11 (64-bit), macOS 10.13 and later, and Linux distributions that provide Qt libraries. An AppImage build is available for Linux systems without a native package.
Yes. With Video Output and Audio Output set to Copy, Avidemux removes or keeps sections without decoding the stream, so the saved file has exactly the same picture quality as the source. Cuts start on keyframes in this mode.
It opens AVI, MP4, MKV, MOV, MPEG-TS, MPEG-PS, FLV, WebM, OGM and many more through its built-in demuxers. Output containers include MP4, MKV, AVI, WebM, MPEG-PS/TS, FLV and MOV.
Yes. Avidemux includes the x265 encoder for HEVC and can encode AV1 through its libaom and SVT-AV1 plugins, alongside x264, VP9, MPEG-2 and MPEG-4 ASP. Hardware encoders such as NVENC and QSV are also available on supported systems.
In Copy mode a cut can only begin on a keyframe. Avidemux moves marker A to the nearest keyframe so the output plays correctly. If you need a frame-exact start, re-encode the video with x264 instead of Copy.
Yes. Open the first clip and use File > Append for each additional clip. The clips should share the same resolution, frame rate and codecs; otherwise, convert them to a common format first.
No. Avidemux uses a single video track with up to four audio tracks and a filter chain. It is built for trimming, converting and fixing files quickly rather than for multi-layer compositing.
Select a video encoder such as x264, open the Filters dialog and add the SSA/ASS/SRT filter under Subtitles. Choose the subtitle file, set the font and position, then save. The subtitles are burned into the picture.
Bugs in the software are best reported on the project's own issue tracker, which the developers read. Questions about this site and its guides can be sent to the address on the Contact page.