 Avidemux
Audio
Fixing Audio Sync and Managing Audio Tracks in Avidemux
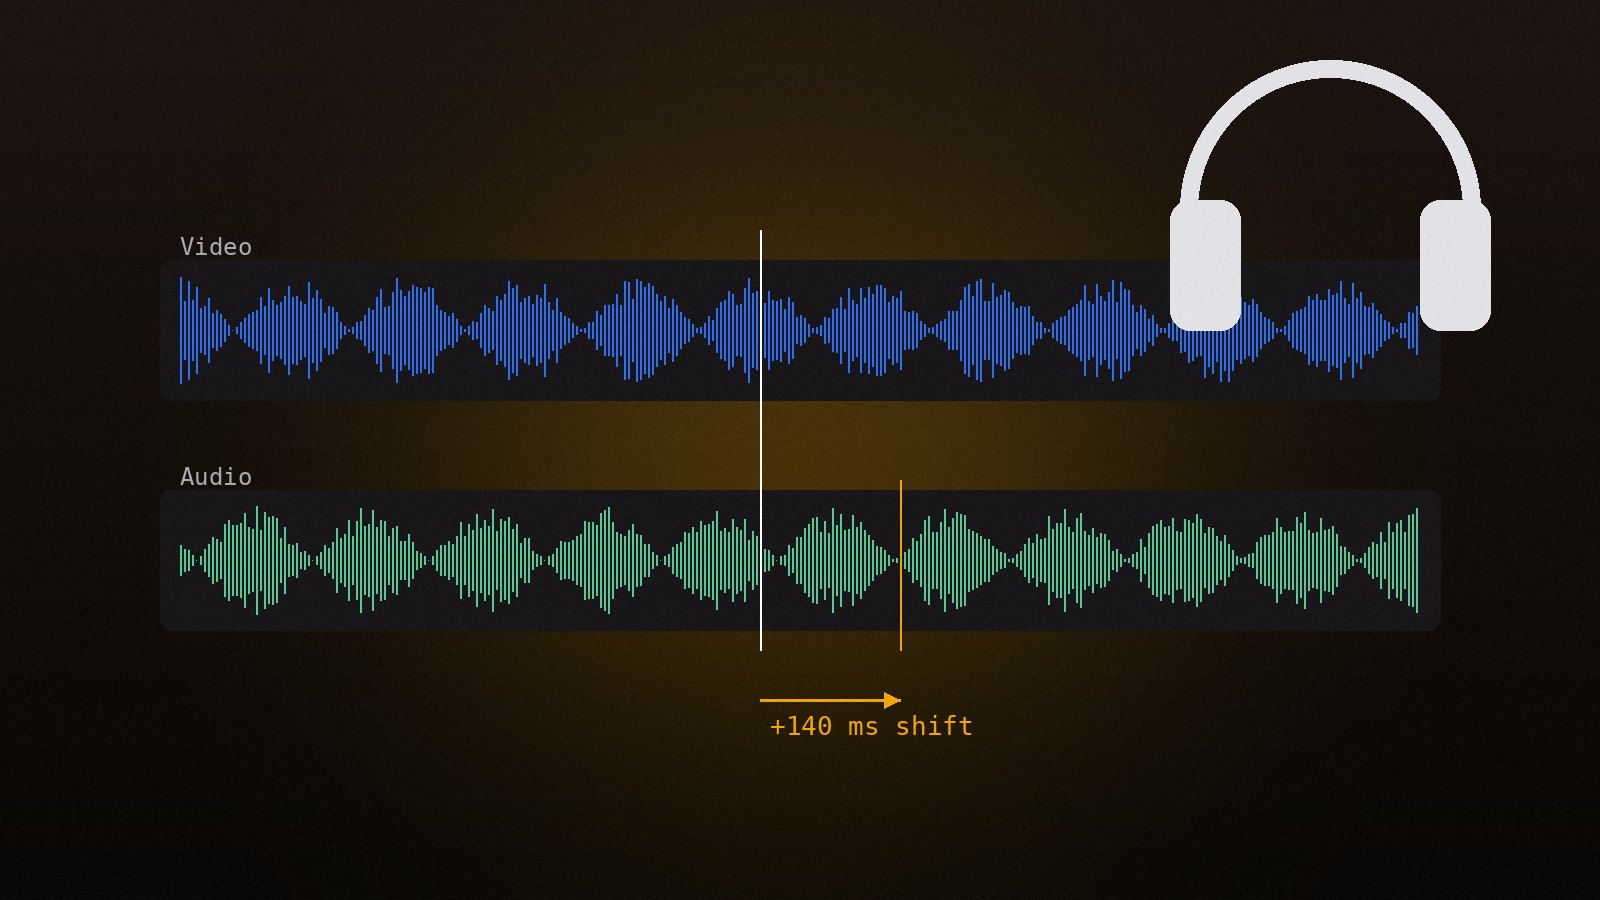
Shift audio to match the picture, replace or add tracks, change volume and convert the audio codec.
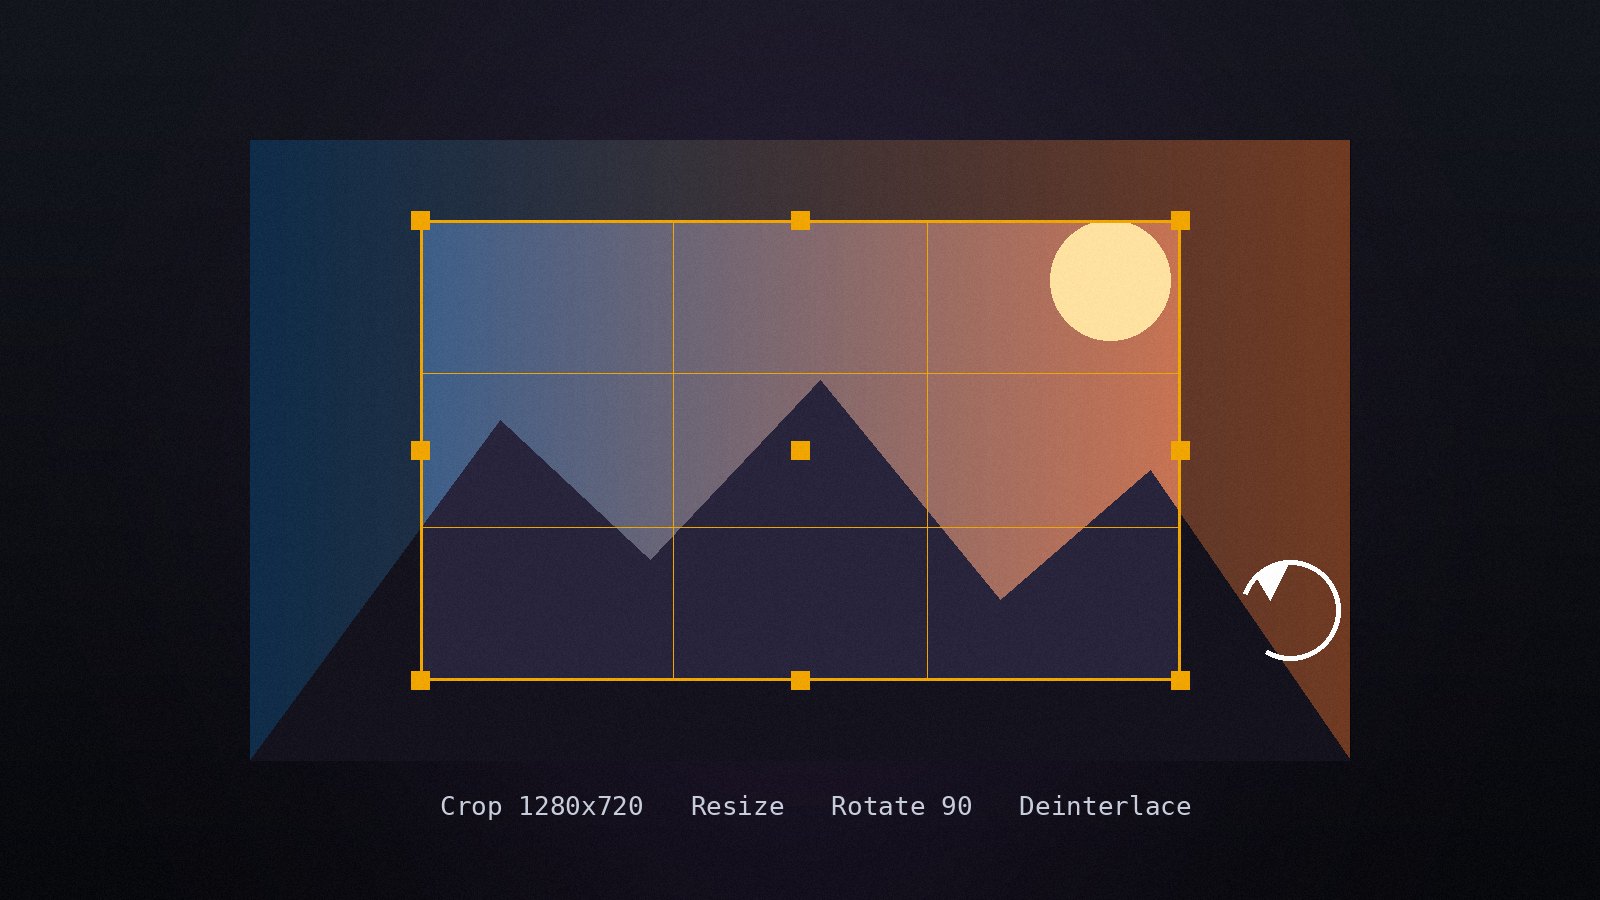
Read the guideFilters are the part of Avidemux that changes the picture itself. They only work when a video encoder is selected (not Copy), because the frames have to be decoded, changed and encoded again. Open the Video Filter Manager with the Filters button under Video Output or with Ctrl+Alt+F.
The left list shows available filters grouped by category; the right list shows active filters in the order they run. Double-click a filter to add it, use the arrows to reorder, and press Preview to see the result on the current frame. Order matters: crop before resize, deinterlace before everything else.
Use Transform > Crop to remove black bars or an unwanted edge. The dialog shows the picture with adjustable left, right, top and bottom values. The Auto Crop button detects black borders on the current frame; scrub to a bright scene first so it measures correctly. Keep values divisible by 2 for H.264.
Transform > swResize scales the picture. Lock the aspect ratio, pick the target width and let the height follow. Lanczos gives the sharpest result; Bicubic is slightly softer and faster. Downscaling 4K to 1920x1080 is a common step before compression.
Phone videos that show sideways on a computer need Transform > Rotate with 90 or 270 degrees. The orientation flag some phones write is ignored by many players, so rotating the frames is the reliable fix. Flip mirrors the picture horizontally or vertically.
Old TV captures and DV tapes show comb-like lines on motion. Add Interlacing > Yadif, choose the field order the source reports (top field first for most DV) and preview a moving scene. Yadif with "double frame rate" off keeps the original frame count.
.cube file.Logo overlays a PNG watermark, Fade adds a fade in or out, Change FPS converts frame rate, and Deshaker stabilises handheld shots in a two-pass process. Save a filter set with Save in the manager so you can load it again on the next file.
Shift audio to match the picture, replace or add tracks, change volume and convert the audio codec.
Read the guide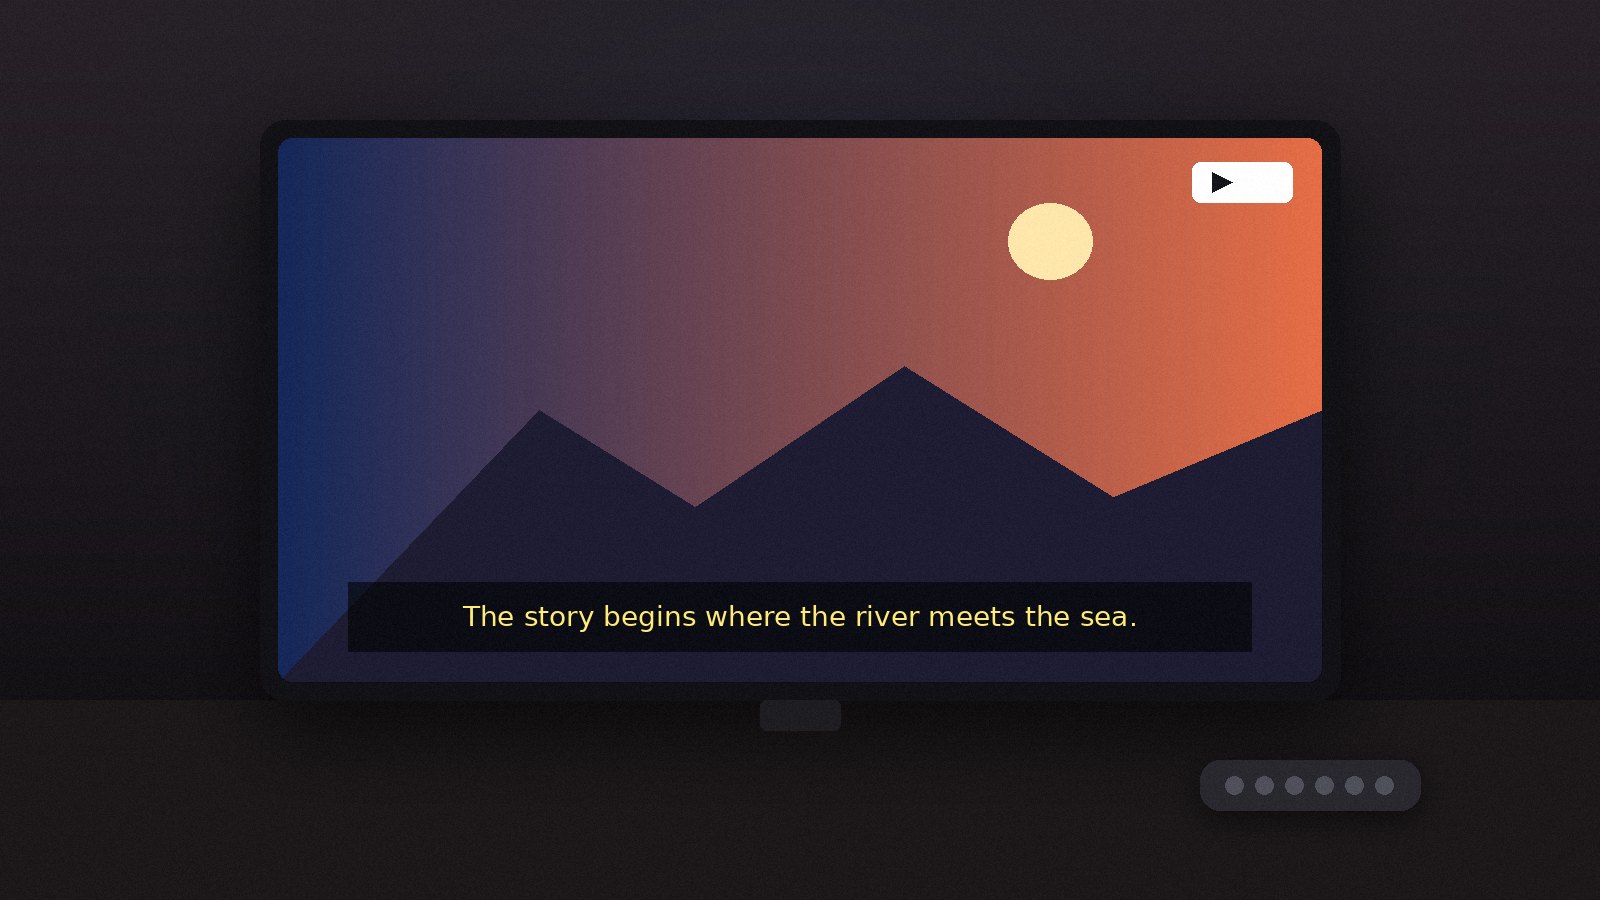
Burn SRT or ASS subtitles into the picture, choose fonts and position, and overlay a logo or watermark.
Read the guide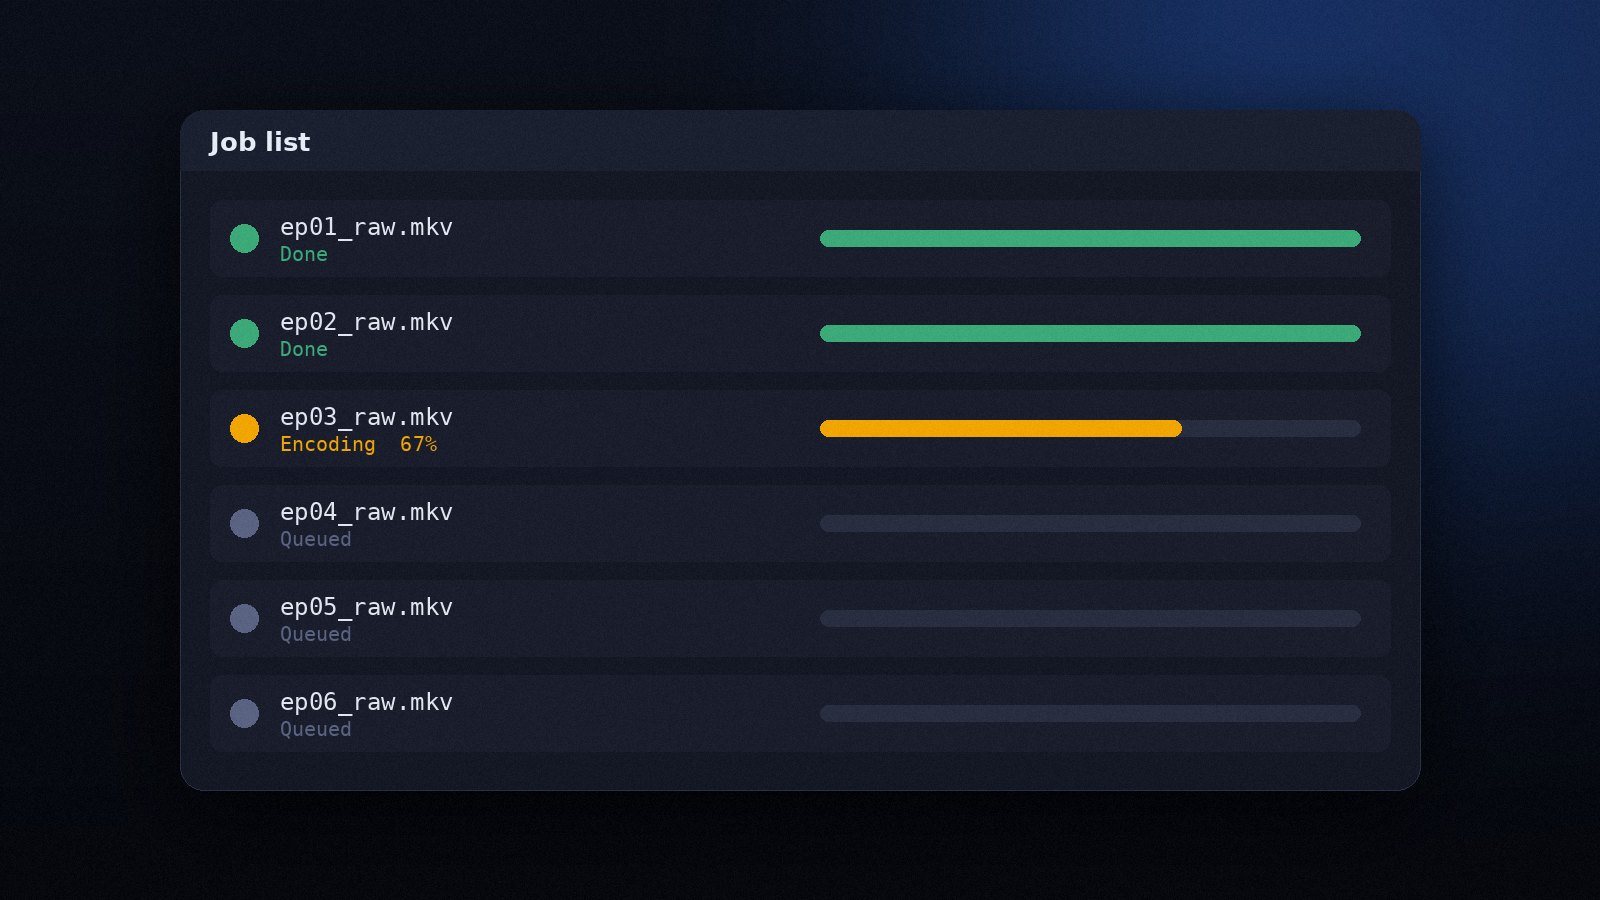
Queue many files, save projects as scripts and run Avidemux from the command line to process folders unattended.
Read the guide